Gold Prospecting Trip 39
Its been a while since our last blog update. We’ve been on many prospecting trips since then and focused our efforts up north in areas of the Prescott National Forest to stay cool.
We have sampled many areas on unclaimed land and found several places where we have found gold in every pan. Most places had very little gold and all the locations we preferred to go were already claimed. Although we have not stumbled upon a bonanza, the adventure itself was worth every penny we put into each expedition.
Today we went to a location in the Prescott Forrest. It is a great day for being outdoors and we are excited because we brought the highbanker/dredge and 300 gallons of water with us. Our goal is to use the recirculating highbanker to process the material of the river bank. Originally we thought the water level would be too low for dredging, but when we arrived I could see plenty of water in the river so I dumped the 300 gallons of water. We found a place to park the vehicle and unload in an open area, but it required us to drive down a steep berm in which we thought was doable. We soon realized that the big truck we thought was invincible had easily succumbed to the nature of physics. It’s quite laughable – so go ahead.
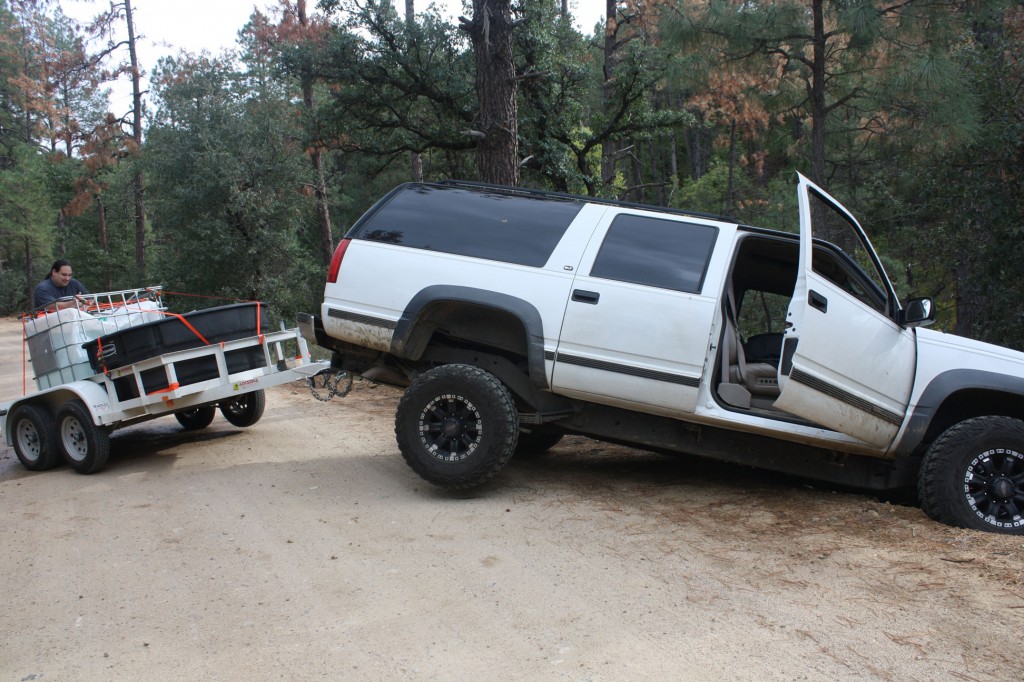
(click on the picture to enlarge it)

(click on the picture to enlarge it)
Some nice folks came over to help us out. We dug trenches for the tires and were eventually pulled out by a tow rope. I was absolutely exhausted from the entire ordeal and was glad it was over.
After we parked the vehicle, some folks helped us unpack and we brought everything and the kitchen sink down to the river. I setup the dredge in a particular location and began working on top of the bedrock of the river bank where there is a few inches of vegetation on top of the bedrock.
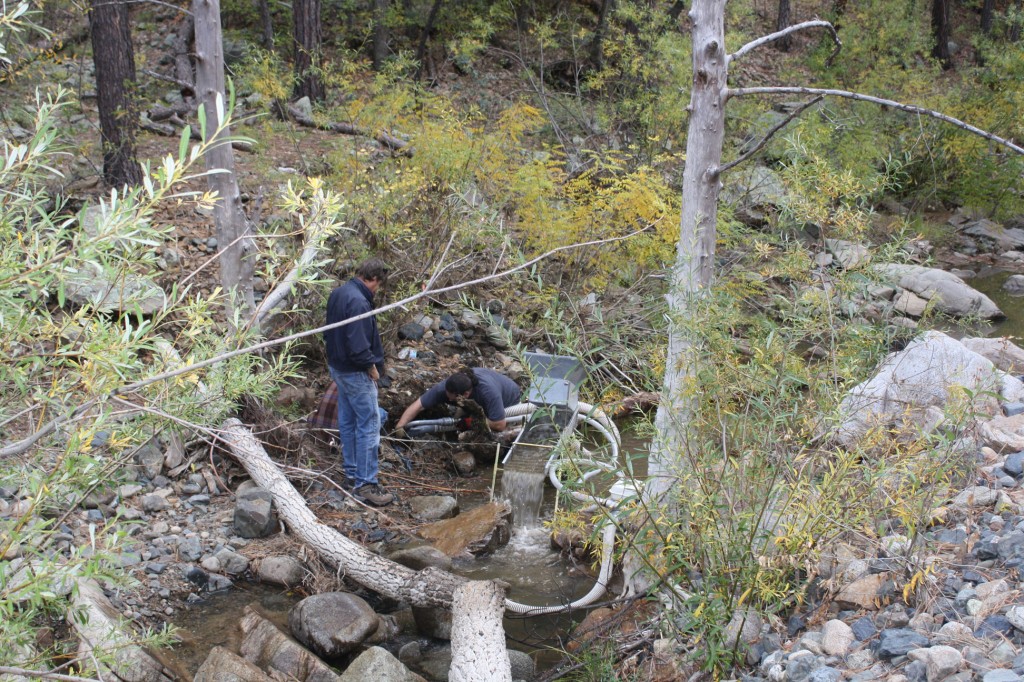
(click on the picture to enlarge it)
The gold found there would mean it is flood gold that came from upstream somewhere. The surrounding rocks consist of rhyolite, granite, feldspar (potassium rich), quartz, hematite, chalcocite, magnetite, conglomerate, diorite, mica and pyrite. Overall, the rocks are mostly felsic and intermediate. We also discovered a nearby tunnel site from a previous metal detecting hike, but I was unable to find any information about it. The opening was closed with dynamite long ago.
We only had time to dredge about two hours before nightfall and covered very little ground. We ended up with about 1 gallon of cons.
Next day I stayed up late and classified the cons with an 8 mesh screen, then classified the result with a 30 mesh screen. I ended up with three sizes in which the 30 mesh will be used in the blue bowl and the other two sizes will be panned out by hand because I cannot process anything bigger than a 30 mesh in the blue bowl. I usually separate the material into 30, 50 and 100 mesh. I only did 30 mesh because I was doing a quick sample. Make sure you do at least 30 and 50 mesh material. The blue bowl comes with a manual that will explain everything you need to know.
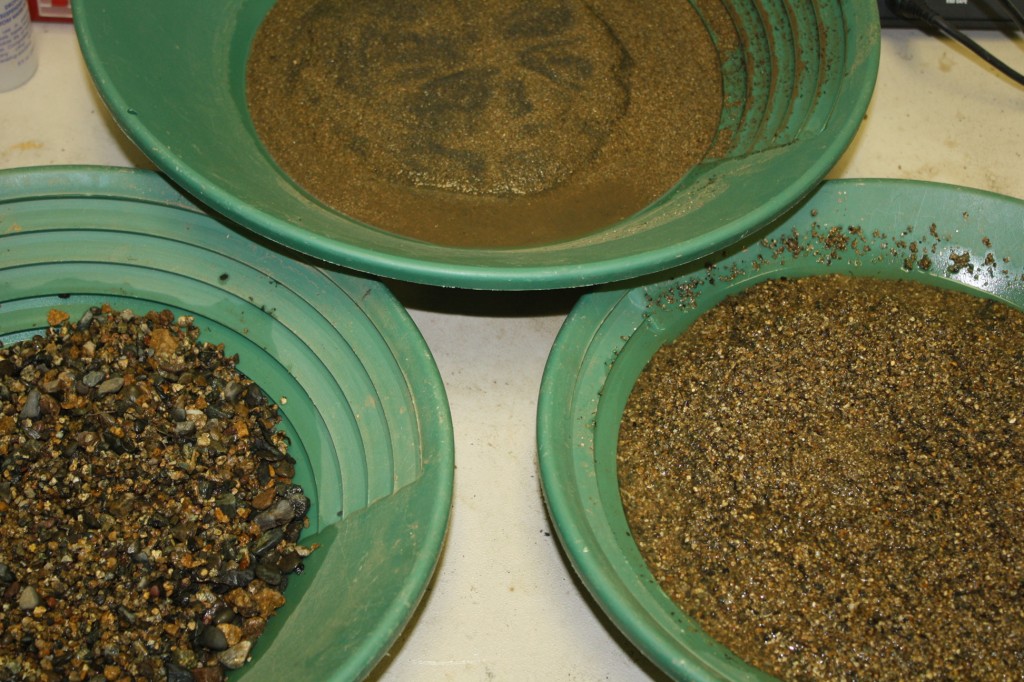
(click on the picture to enlarge it)
The blue bowl is what we primarily use for extracting gold from the cons because it is so much faster than panning it by hand. I always process the cons twice to ensure the most recovery of gold, however, there is the super fine gold that is not visible that will always escape the mechanical extraction processes and the only way to retrieve that is with the use of mercury. We don’t use mercury yet, but we save all the leftovers in a tub for future processing with mercury.
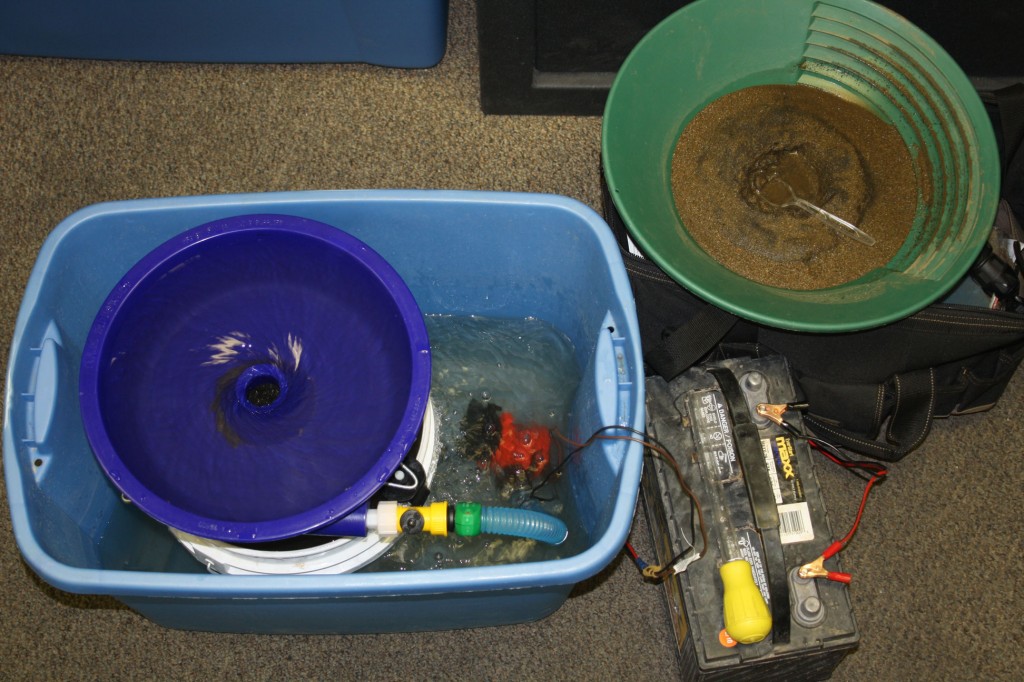
(click on the picture to enlarge it)
You start by adding just 3 or 4 heaping teaspoons to the bowl. If you add anymore than that, then it will impair the water flow that creates the vortex and exponentially decrease efficiency.
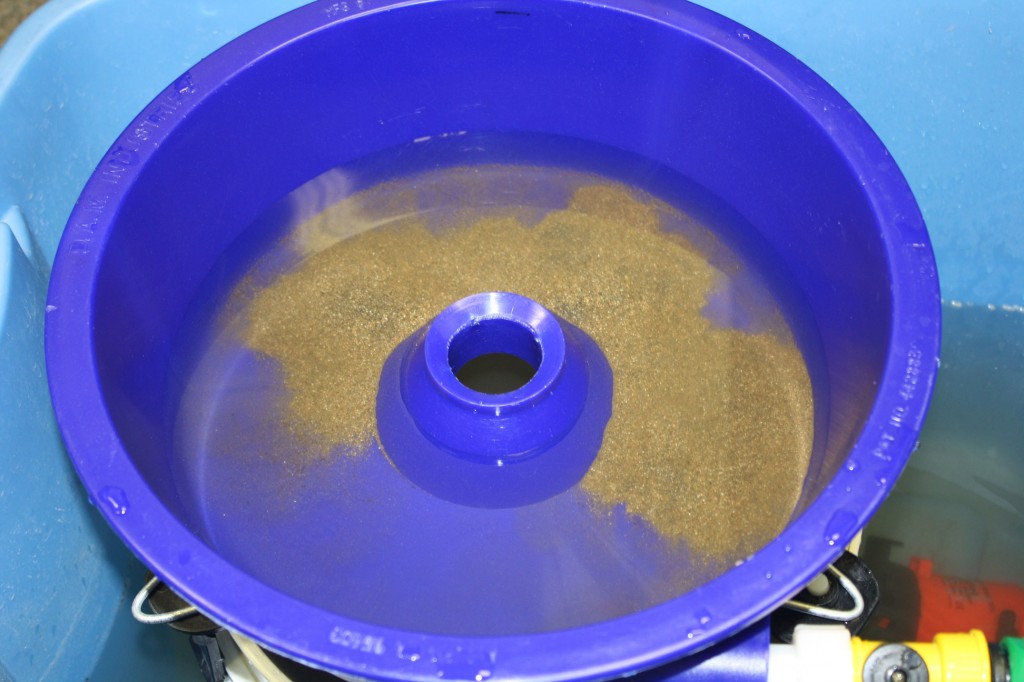
(click on the picture to enlarge it)
As the water swirls, the lighter material is forced upward in a vortex leaving behind the gold in a ring around the bottom so you can easily suck it up with a snuffer bottle. The light material is deposited into a bucket of water beneath the bowl and the excess water is reused. It’s a good invention that someone thought of and I’m glad they did because it sure beats panning!
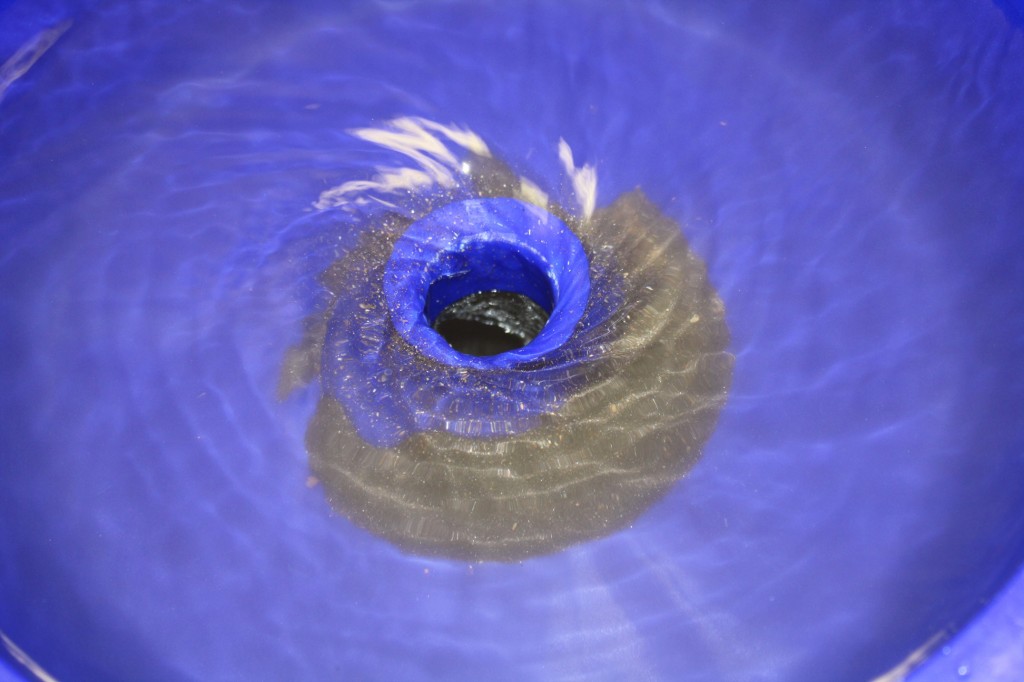
(click on the picture to enlarge it)
After the blue bowl has finished, you will see a ring of gold left over. Use the snuffer bottle to capture the gold. Repeat this process a few scoops at a time until all your material is finished.
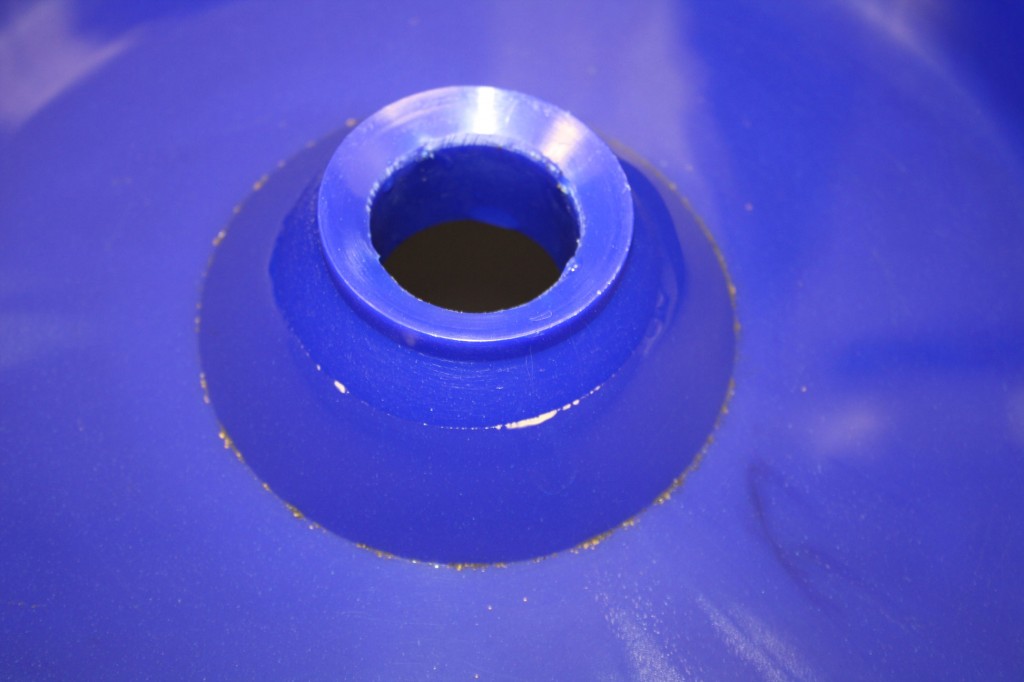
(click on the picture to enlarge it)
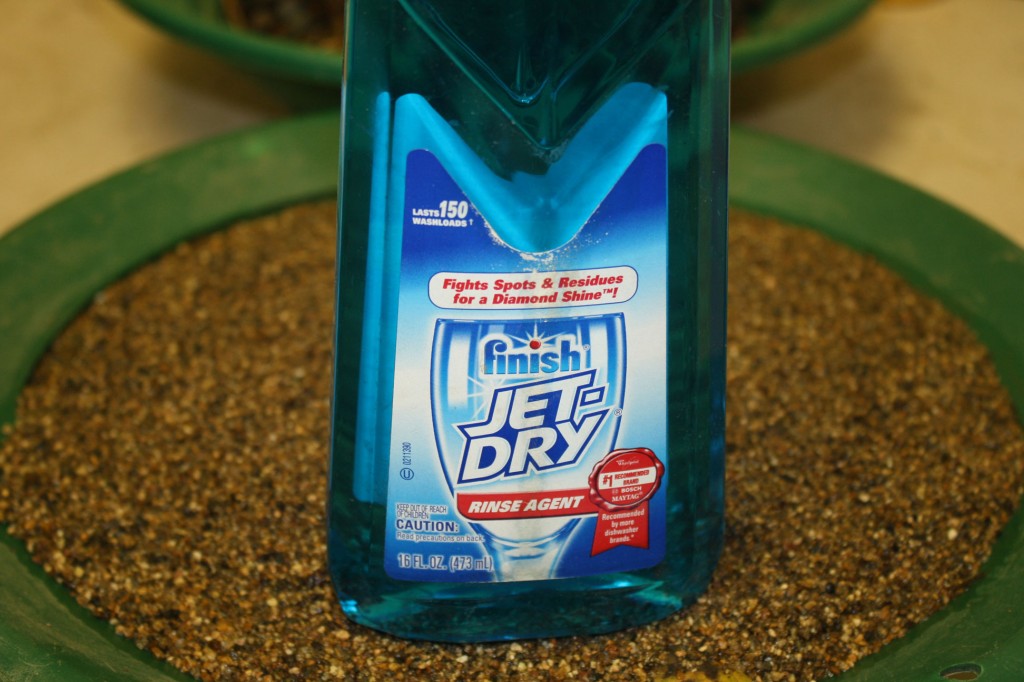
It is mandatory to use a cap full of Clay-Gone and a cap full of Jet Dry in the 10 gallons of water before you start because without this you will lose a lot of fine gold in the recovery process. Both of these are surfactants that reduce the surface tension of the water.
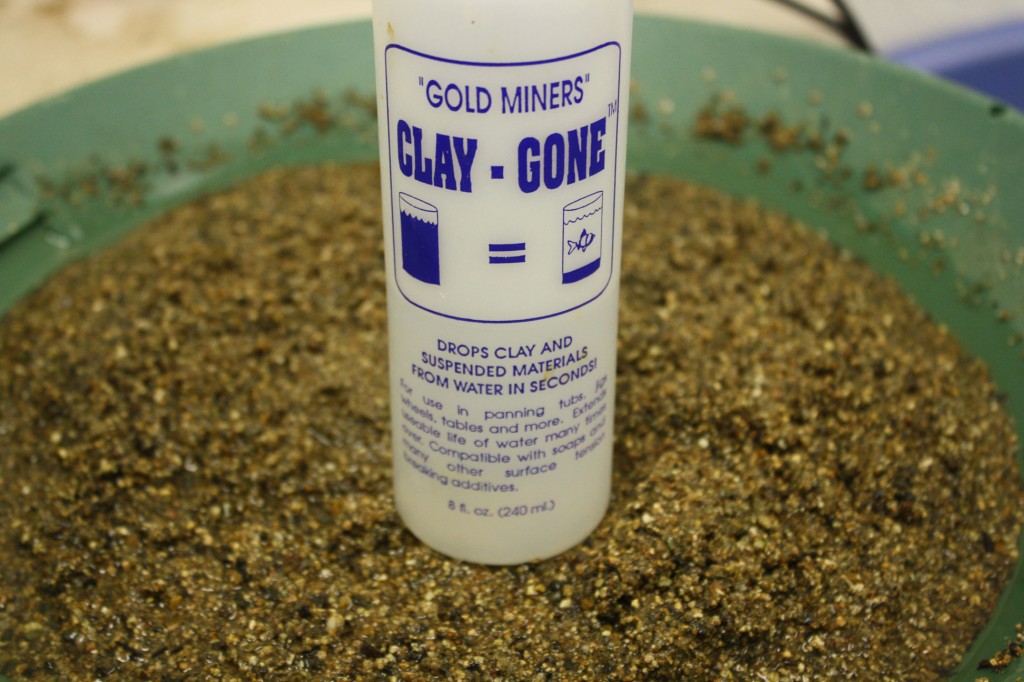
(click on the picture to enlarge it)
(click on the picture to enlarge it)
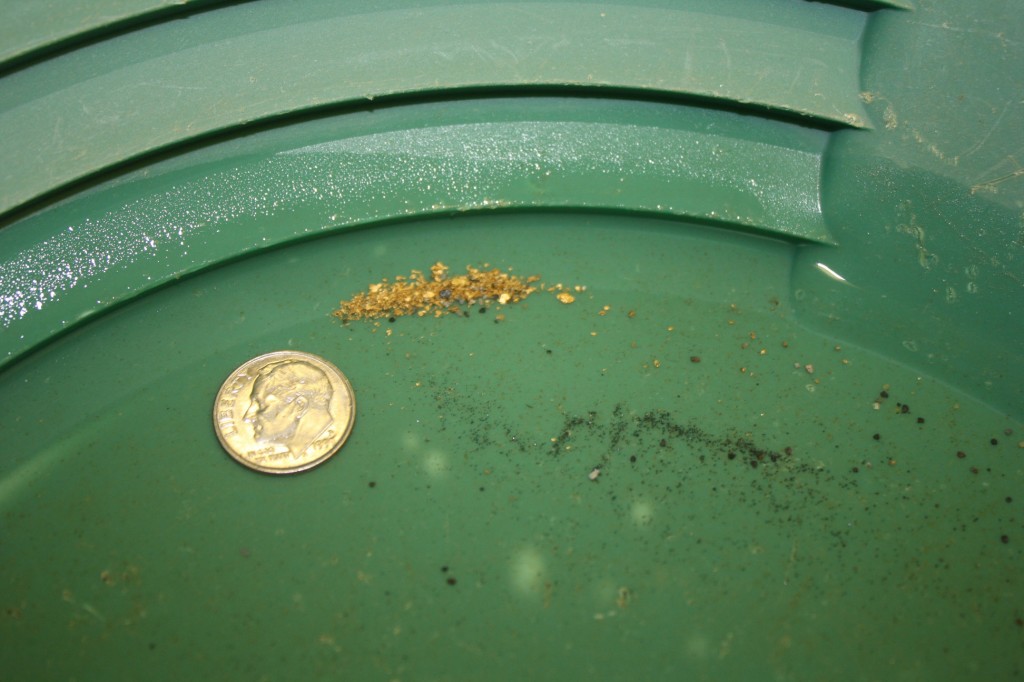
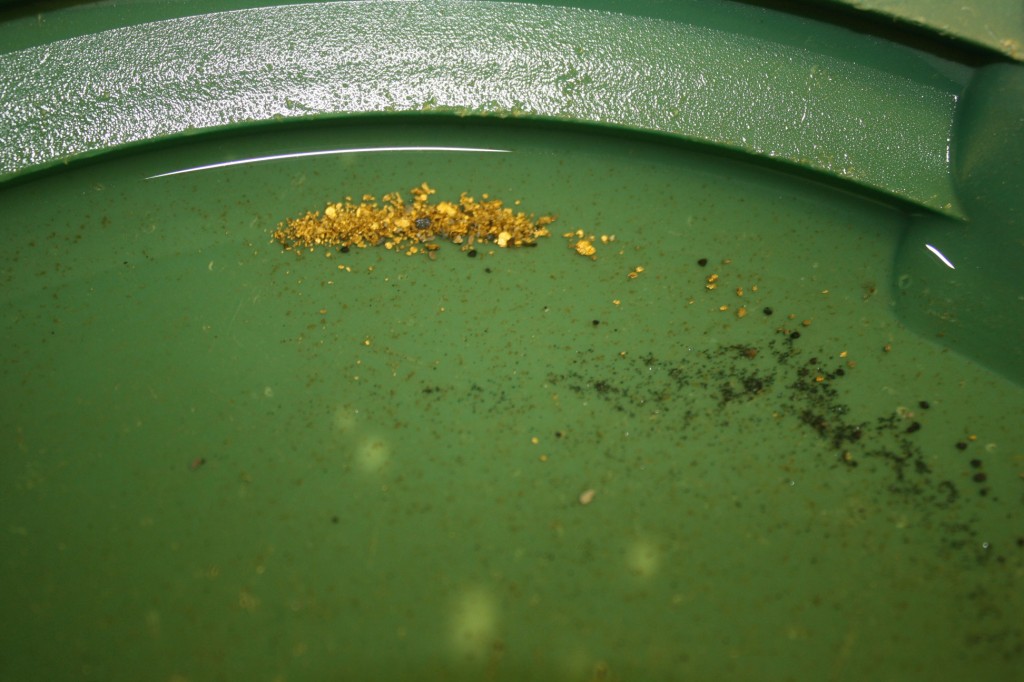
After I “blue-bowled” the 30 mesh material, I panned the 8 mesh and the pebbles by hand. In the end, we ended up with a small amount of gold that is probably not worthy to be put on our electronic scale, but it is sure good to see the gold in all its splendor. Hey Josh – do you still have that magnifying glass? :p
(click on the picture to enlarge it)
(click on the picture to enlarge it)
Keep in mind that we did not dredge as much as we wanted, but we have so much more time in the future to go back and enjoy the beauty of nature and its precious minerals.